Face Analyzer (Cloud) App - User Manual
Quick Links
- Layout
- Button Legend
- How to: Sign into the website
- How to: Upload a 3D Model
- How to: Load a 3-D Model into the scene
- How to: Mark a Feature Point
- How to: Visualization Buttons
- How to: Rotate, Zoom In/Out and PAN
- How to: View Landmark Descriptions
- Details of Measurements
- Details of How Features/Measurements Stored (in a JSON File)
Please use a Chrome browser in Incognito mode if you have sign in issues.
Layout:
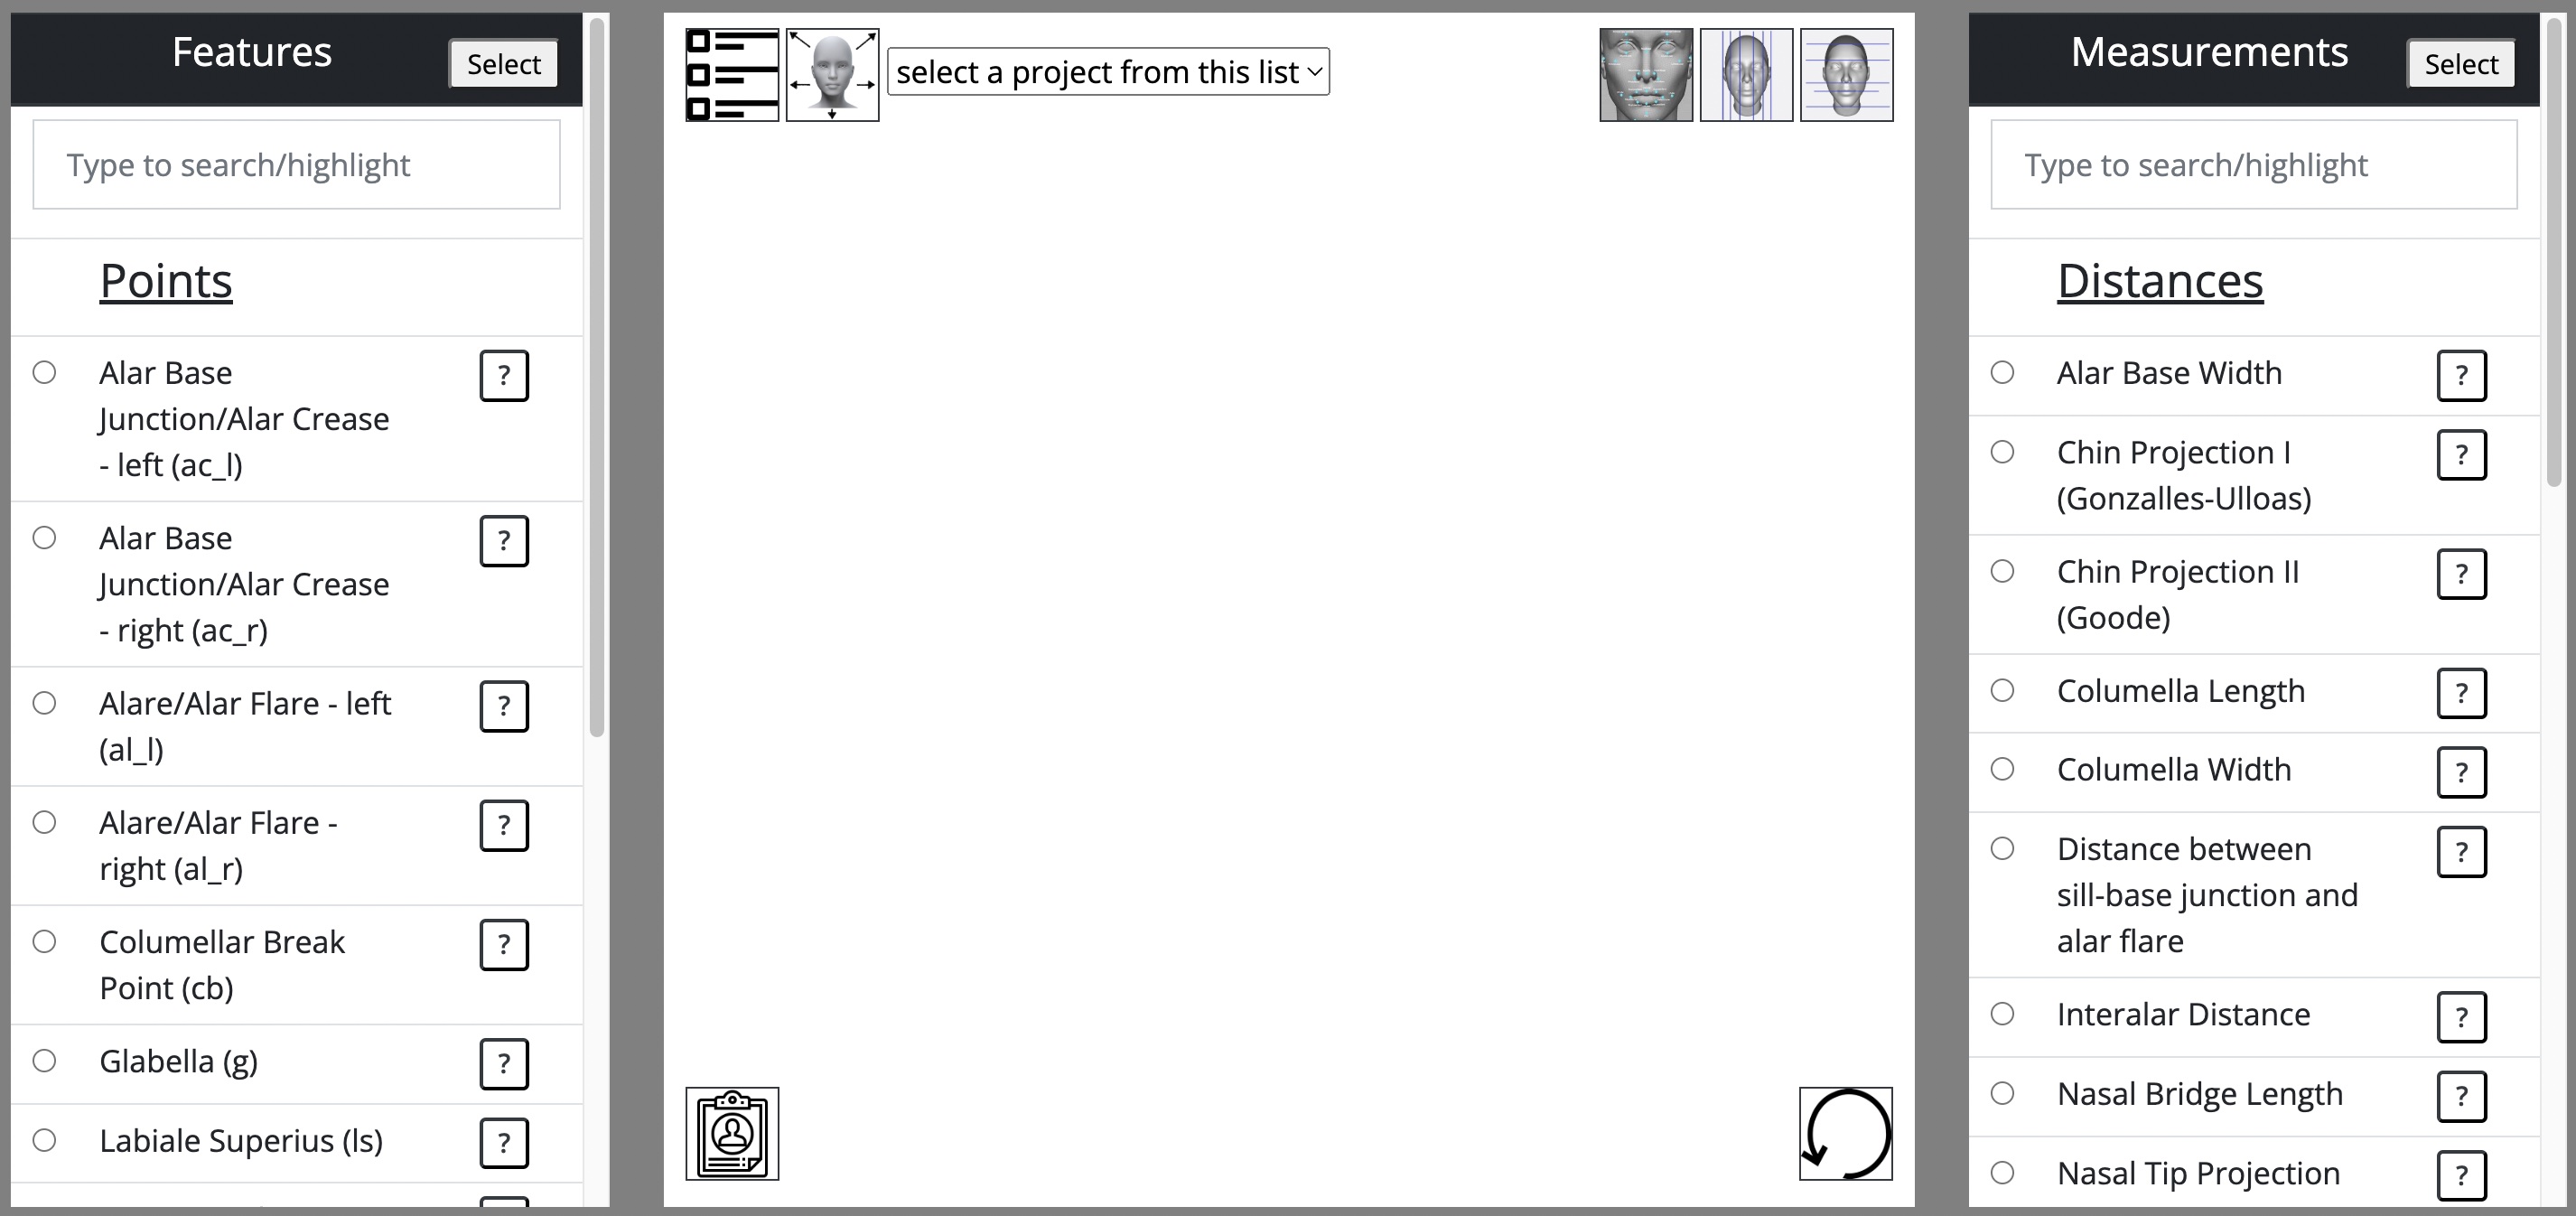
The layout of the 'Analyzer' page is shown in the Figure below:
- The section on the left lists the feature points (landmarks) on the face.
- The section on the right lists the measurements that are auto-calculated using the coordinates of the feature points.
- The section in the middle (also called 'scene') loads and presents the 3-D model of a face where you can mark the feature points.
Button Legend:
 |
Pops up a window to show information about a feature point or a measurement. |
 |
Pops up a window to select features/measurements and update your features/measurements list. |
 |
Pops up a window to display current project files, as well as buttons to upload, delete, and download files |
 |
Loads the selected project files onto the main display |
 |
Exports a report in pdf format listing screenshots in various views and listing calculated measurement values. |
 |
Display all feature points (landmarks). All unique feature points will be shown with a label floating above them that has the respective number for a point on the list of feature points. |
 |
Visualizes vertical fifths. If the required points have not been recorded or are not a part of the list, a user would be offered to include them or be reminded to record data for them. |
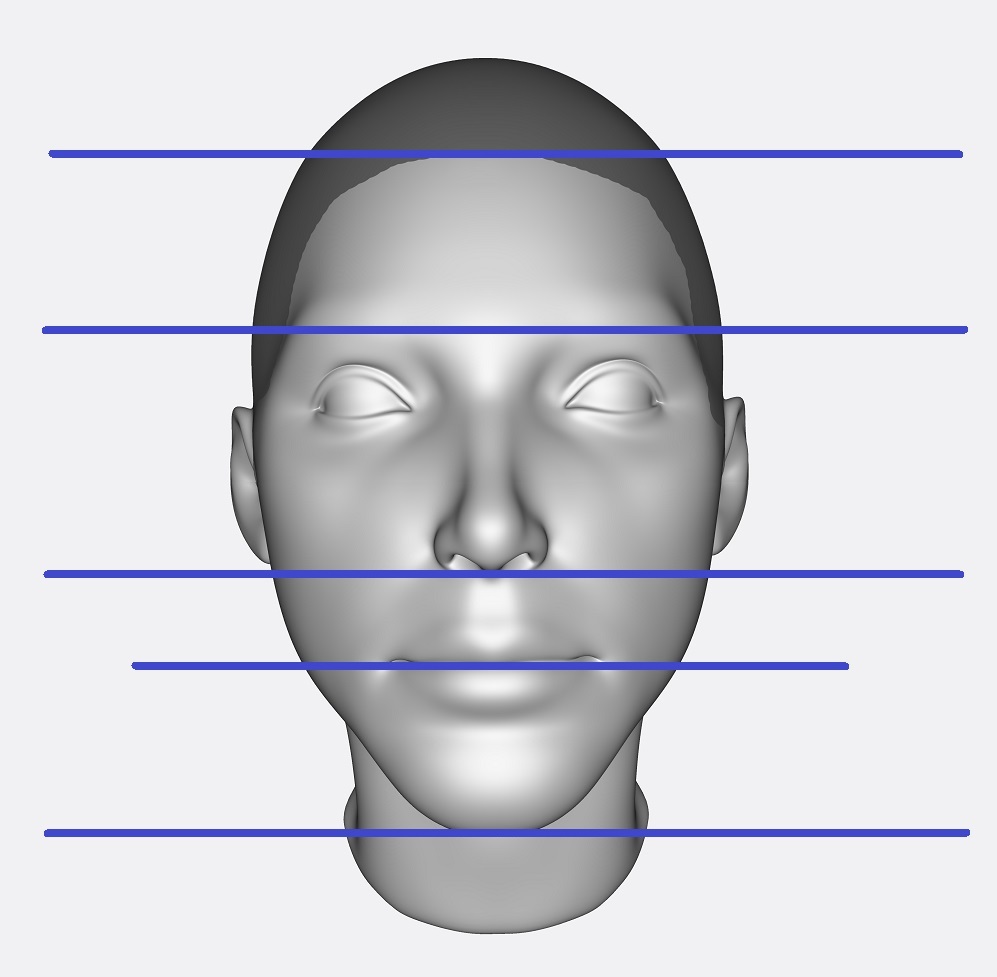 |
Visualize horizontal thirds. If the required points have not been recorded or are not a part of the list, a user would be offered to include them or be reminded to record data for them. |
 |
Resets all of the data that has been recorded so far including feature point coordinates, meausurement values, and other things. |
To DRAG the 3D Model to the left/right or up/down right click and hold on the 3D model and then move your mouse.
How to use the web-app:
1) Signing into the Website

In order to save your progress and access the files you have uploaded to the website, you must create an account and sign in.
Please view the videos below for more details about how to sign-up and sign-in:
2) Upload a 3-D Model
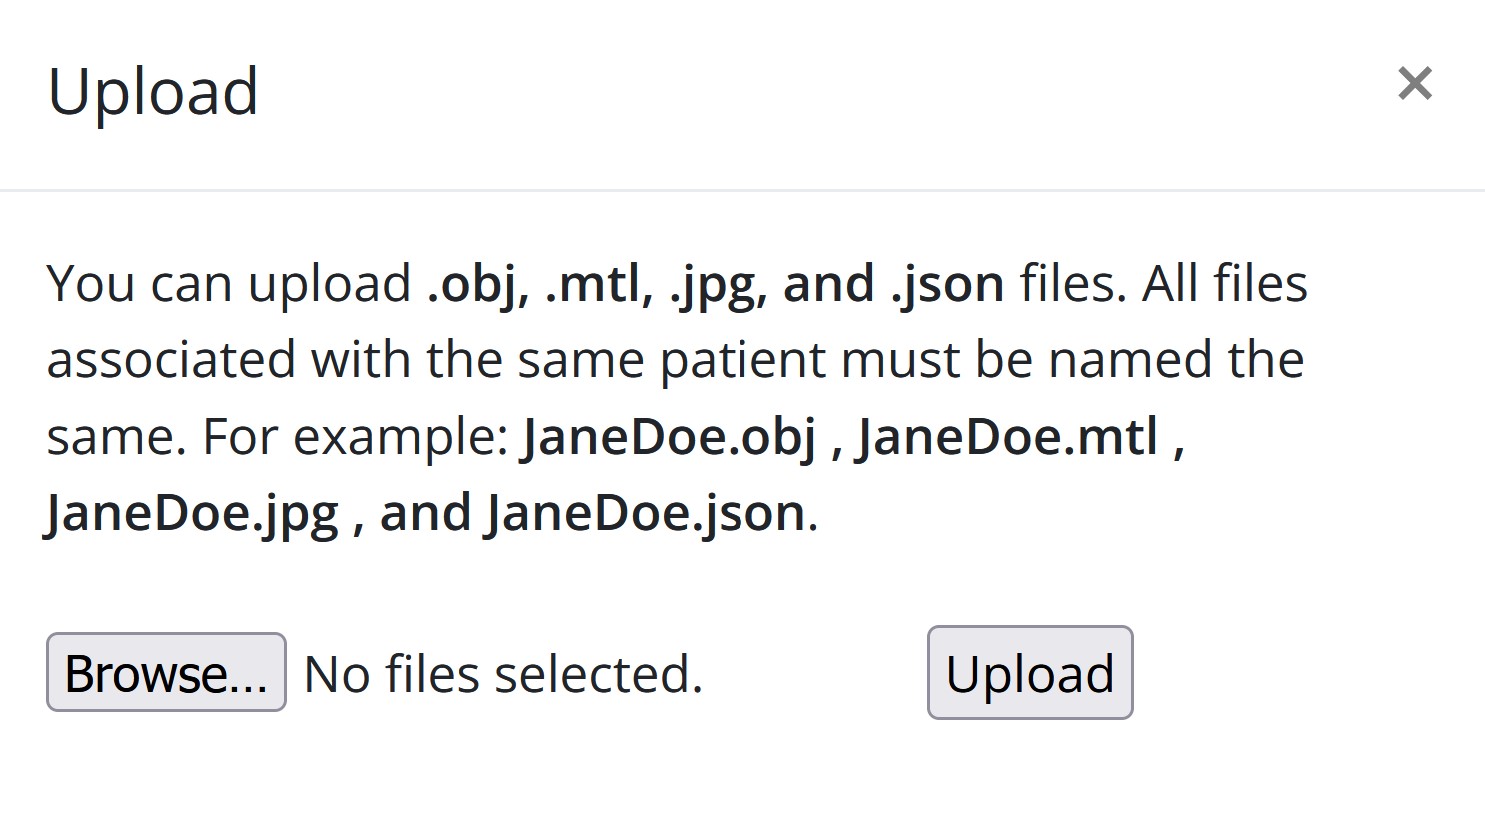
To analyze a face for rhinoplasty, you first need to upload the 3D Model files to the website by clicking the "View Project Files" button, and then the "upload" button. (Note that if you uploaded your 3-D model before, you do not need to upload it again. You can start from the next step: 'Load a 3-D Model'.)

The ".obj" file type can also have texture files (".mtl" and ".jpg"). If you have these files, please upload them with the same name as your ".obj" file.
DELETE or DOWNLOAD: The file dialog box has several options to manipulate files relating to the project. You can also download and delete files once you have uploaded them.
Please view the video below for further details.
3) Load a 3-D Model into the scene
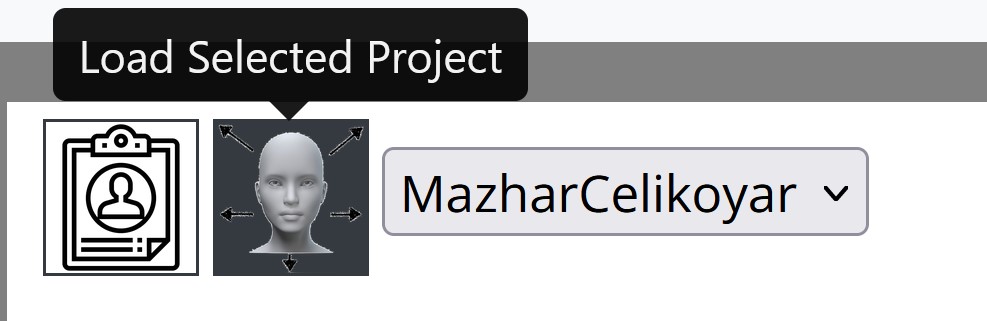
Then, you must click on the "Select Project" button, choose which project you want to load, and click the "Load Selected Project" button beside it.
4) Double Click to Mark a Feature Point (landmark)
To mark a facial feature point (landmark), select a feature point from the features list and then double click on the loaded 3D model. A green dot appears on the 3D model for the selected feature point. If you are satisfied with the marked location, you can continue with the next feature point by selecting its radio button from the features list.
Please watch the videos below:
5) Visualization Buttons
Once you have placed your landmarks, you can use the three Landmark Visualization buttons in the top right. Please view the video below for more details
6) Use Mouse to Rotate, Zoom In/Out and PAN
Interact with the 3D model using your mouse. You can rotate it to view from various angles. You can also zoom in to have a closer look. To move (pan) the 3D model in X and Y coordinates, right click on the 3D model and then move your mouse. Please watch the video below:
7) Landmark Descriptions
If you want to review the description and a guidance figure showing where the feature point should be, you can click on the question mark button on the row of the feature point and the details of the selected feature point will be displayed on a popup window.

8) Measurement Calculations
Measurements are automatically calculated as you continue to mark feature points. If you want to see the feature points used in the calculation of a measurement, you can select that measurement’s radio button from the measurements list and all the feature points involved in the calculation of that measurement are highlighted on the feature points list and a green dot is placed for each of these feature points on the 3D model. For example, when ‘Radix Depth’ measurement is selected, a green dot is placed for both ‘Nasion’ and ‘Supratarsal Crease left’ (feature points that are used to calculate the Radix Depth) as shown from different angles.To see the details of a measurement (description, figure and the formula to calculate it), you can click on the question mark button in the row of a desired measurement. For example, when the button is clicked for the 'Radix Projection' measurement, a popup window opens.

9) JSON Data
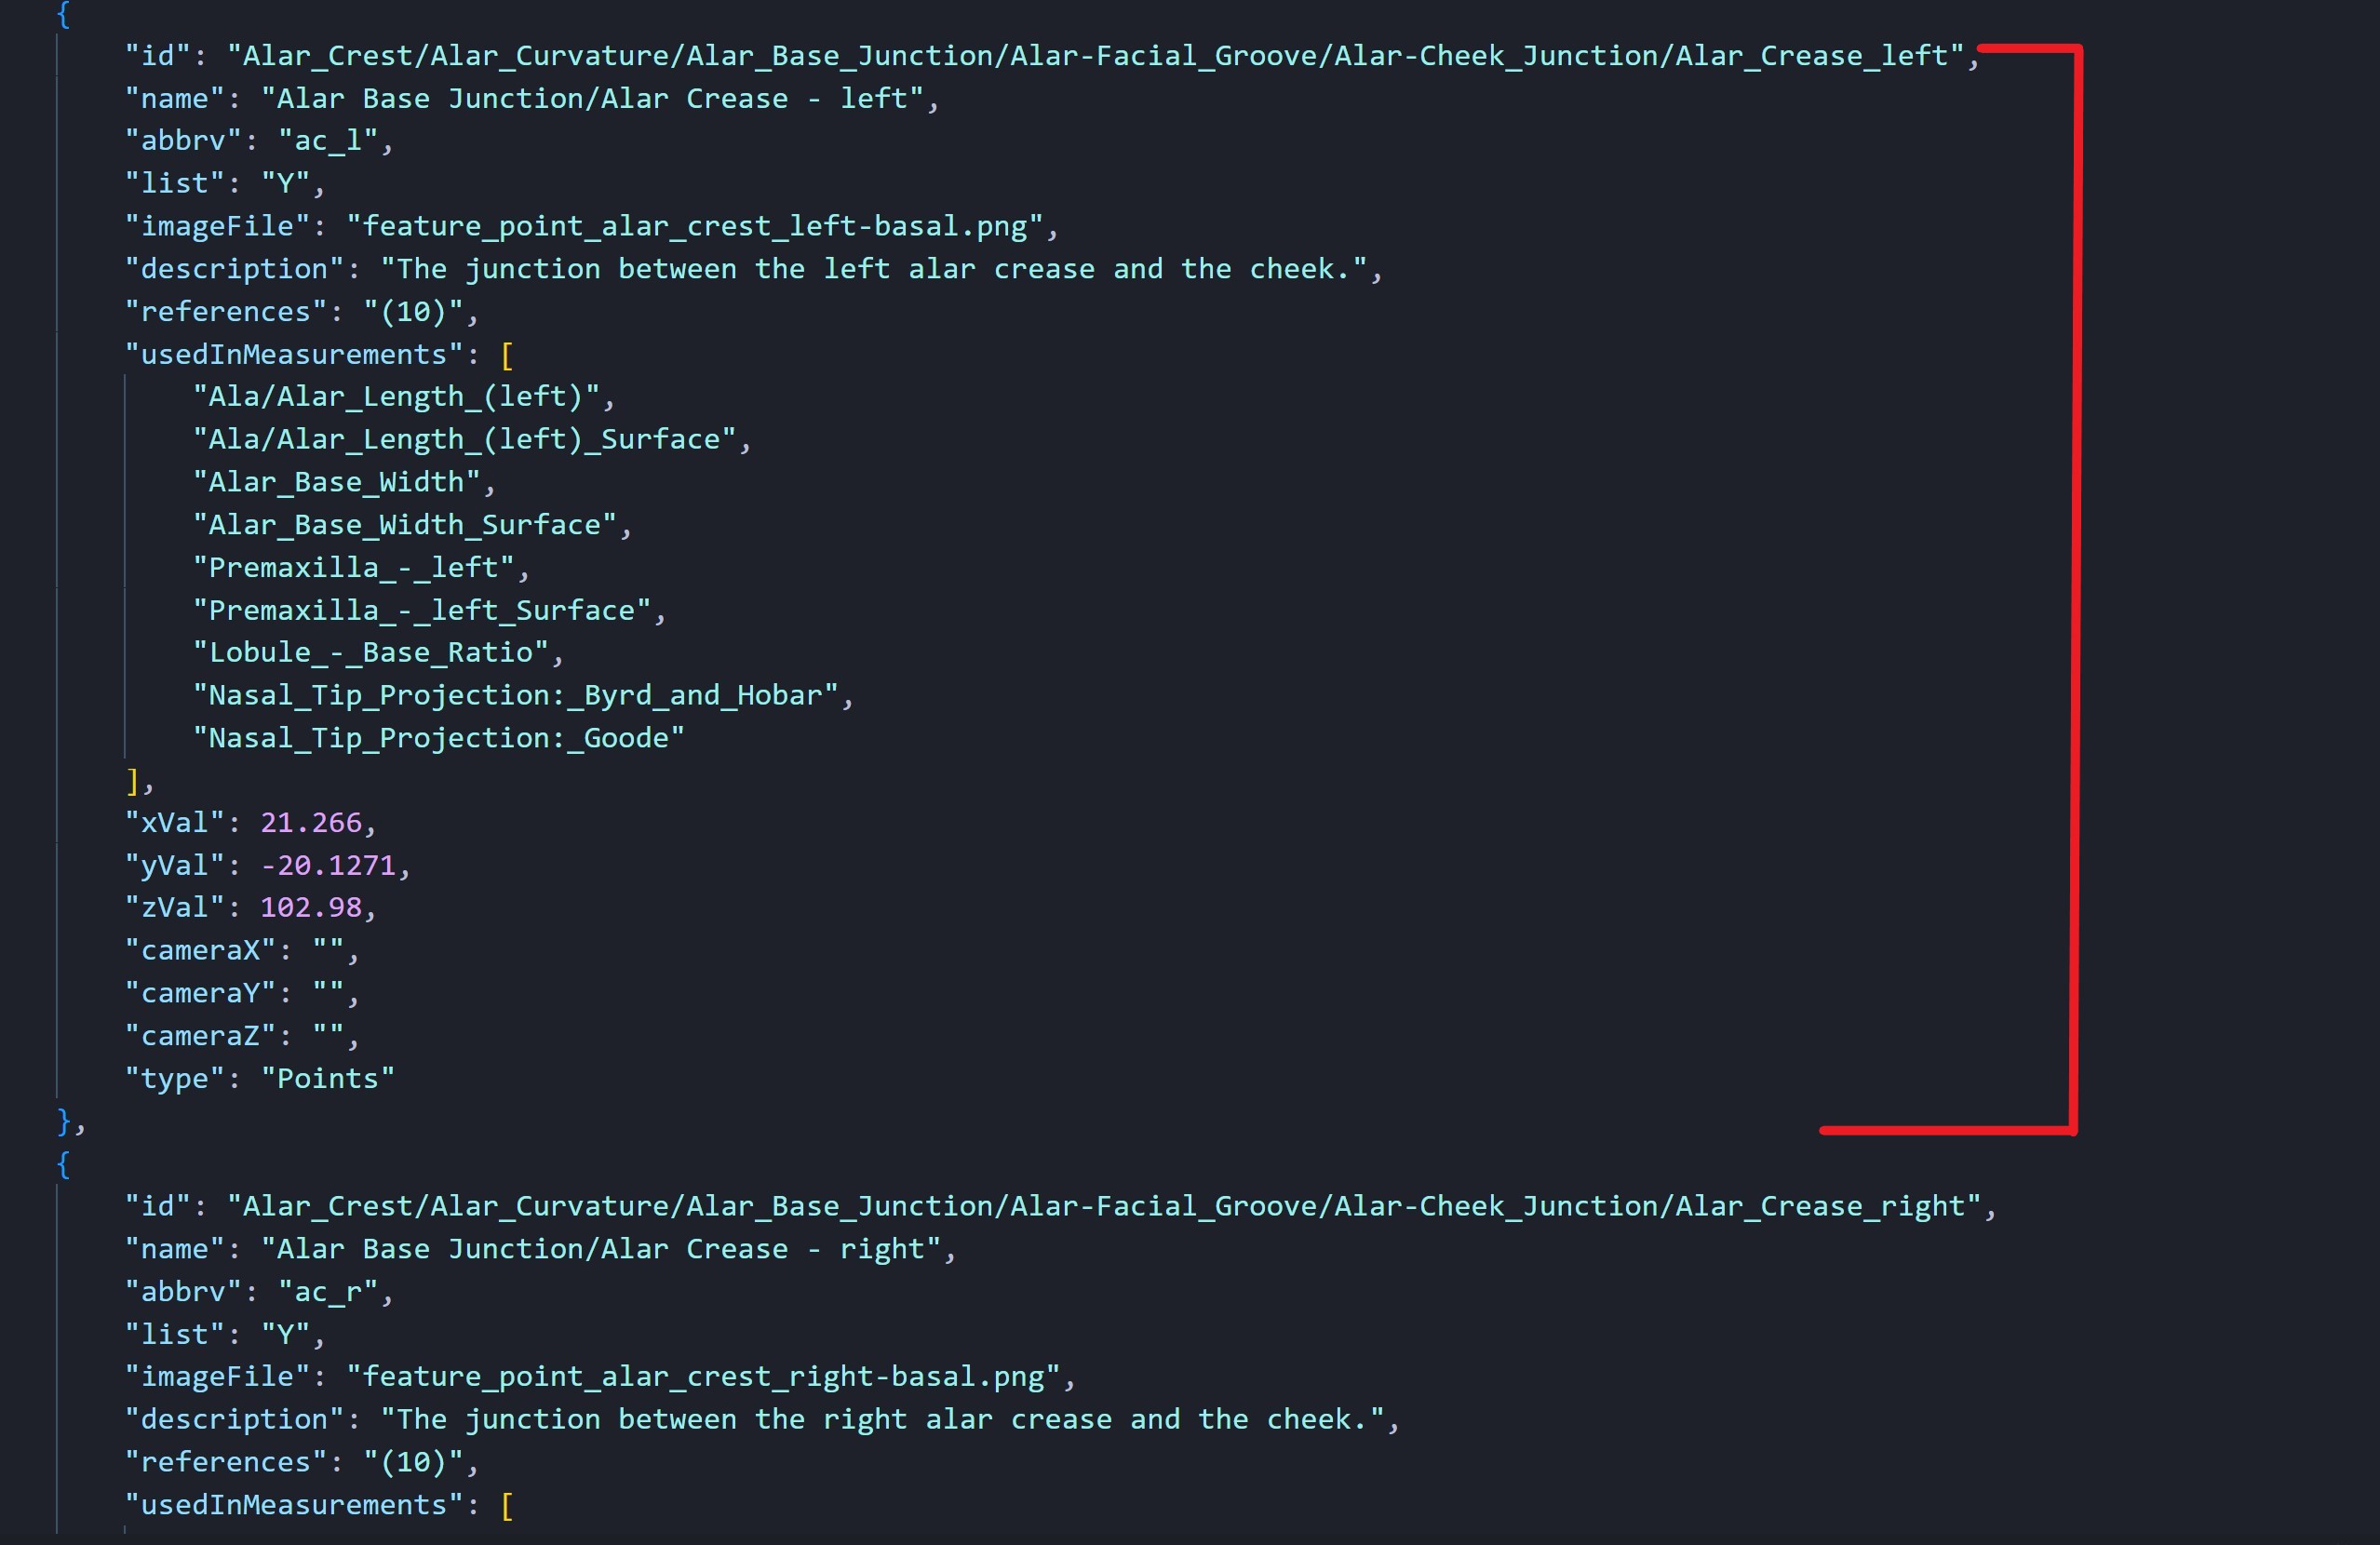
After creating marks on a model, a JSON file will be automatically created. The file will be named after your project. (Eg."ProjectName.json"). As user marks more landmarks, the json file gets updated with the updated info. Deleting the json file will delete all of the marking data, so it is advised to save a copy onto your local computer before deleting the information from your account. If you have sent this JSON data to someone, they simply need to upload it the same way that was done with the project files, and they will be able to view the same markings you made.
The image below shows the content of a JSON file. The red line shows where the data for a specific mark begins and ends.
Troubleshooting:
If you are having issues with the apps, please try using another browser such as Firefox.
If you still have issues, please let us know at contact@digitized-rhinoplasty.com
Skip to top