Evaluator App - User Manual
Quick Links
Layout:
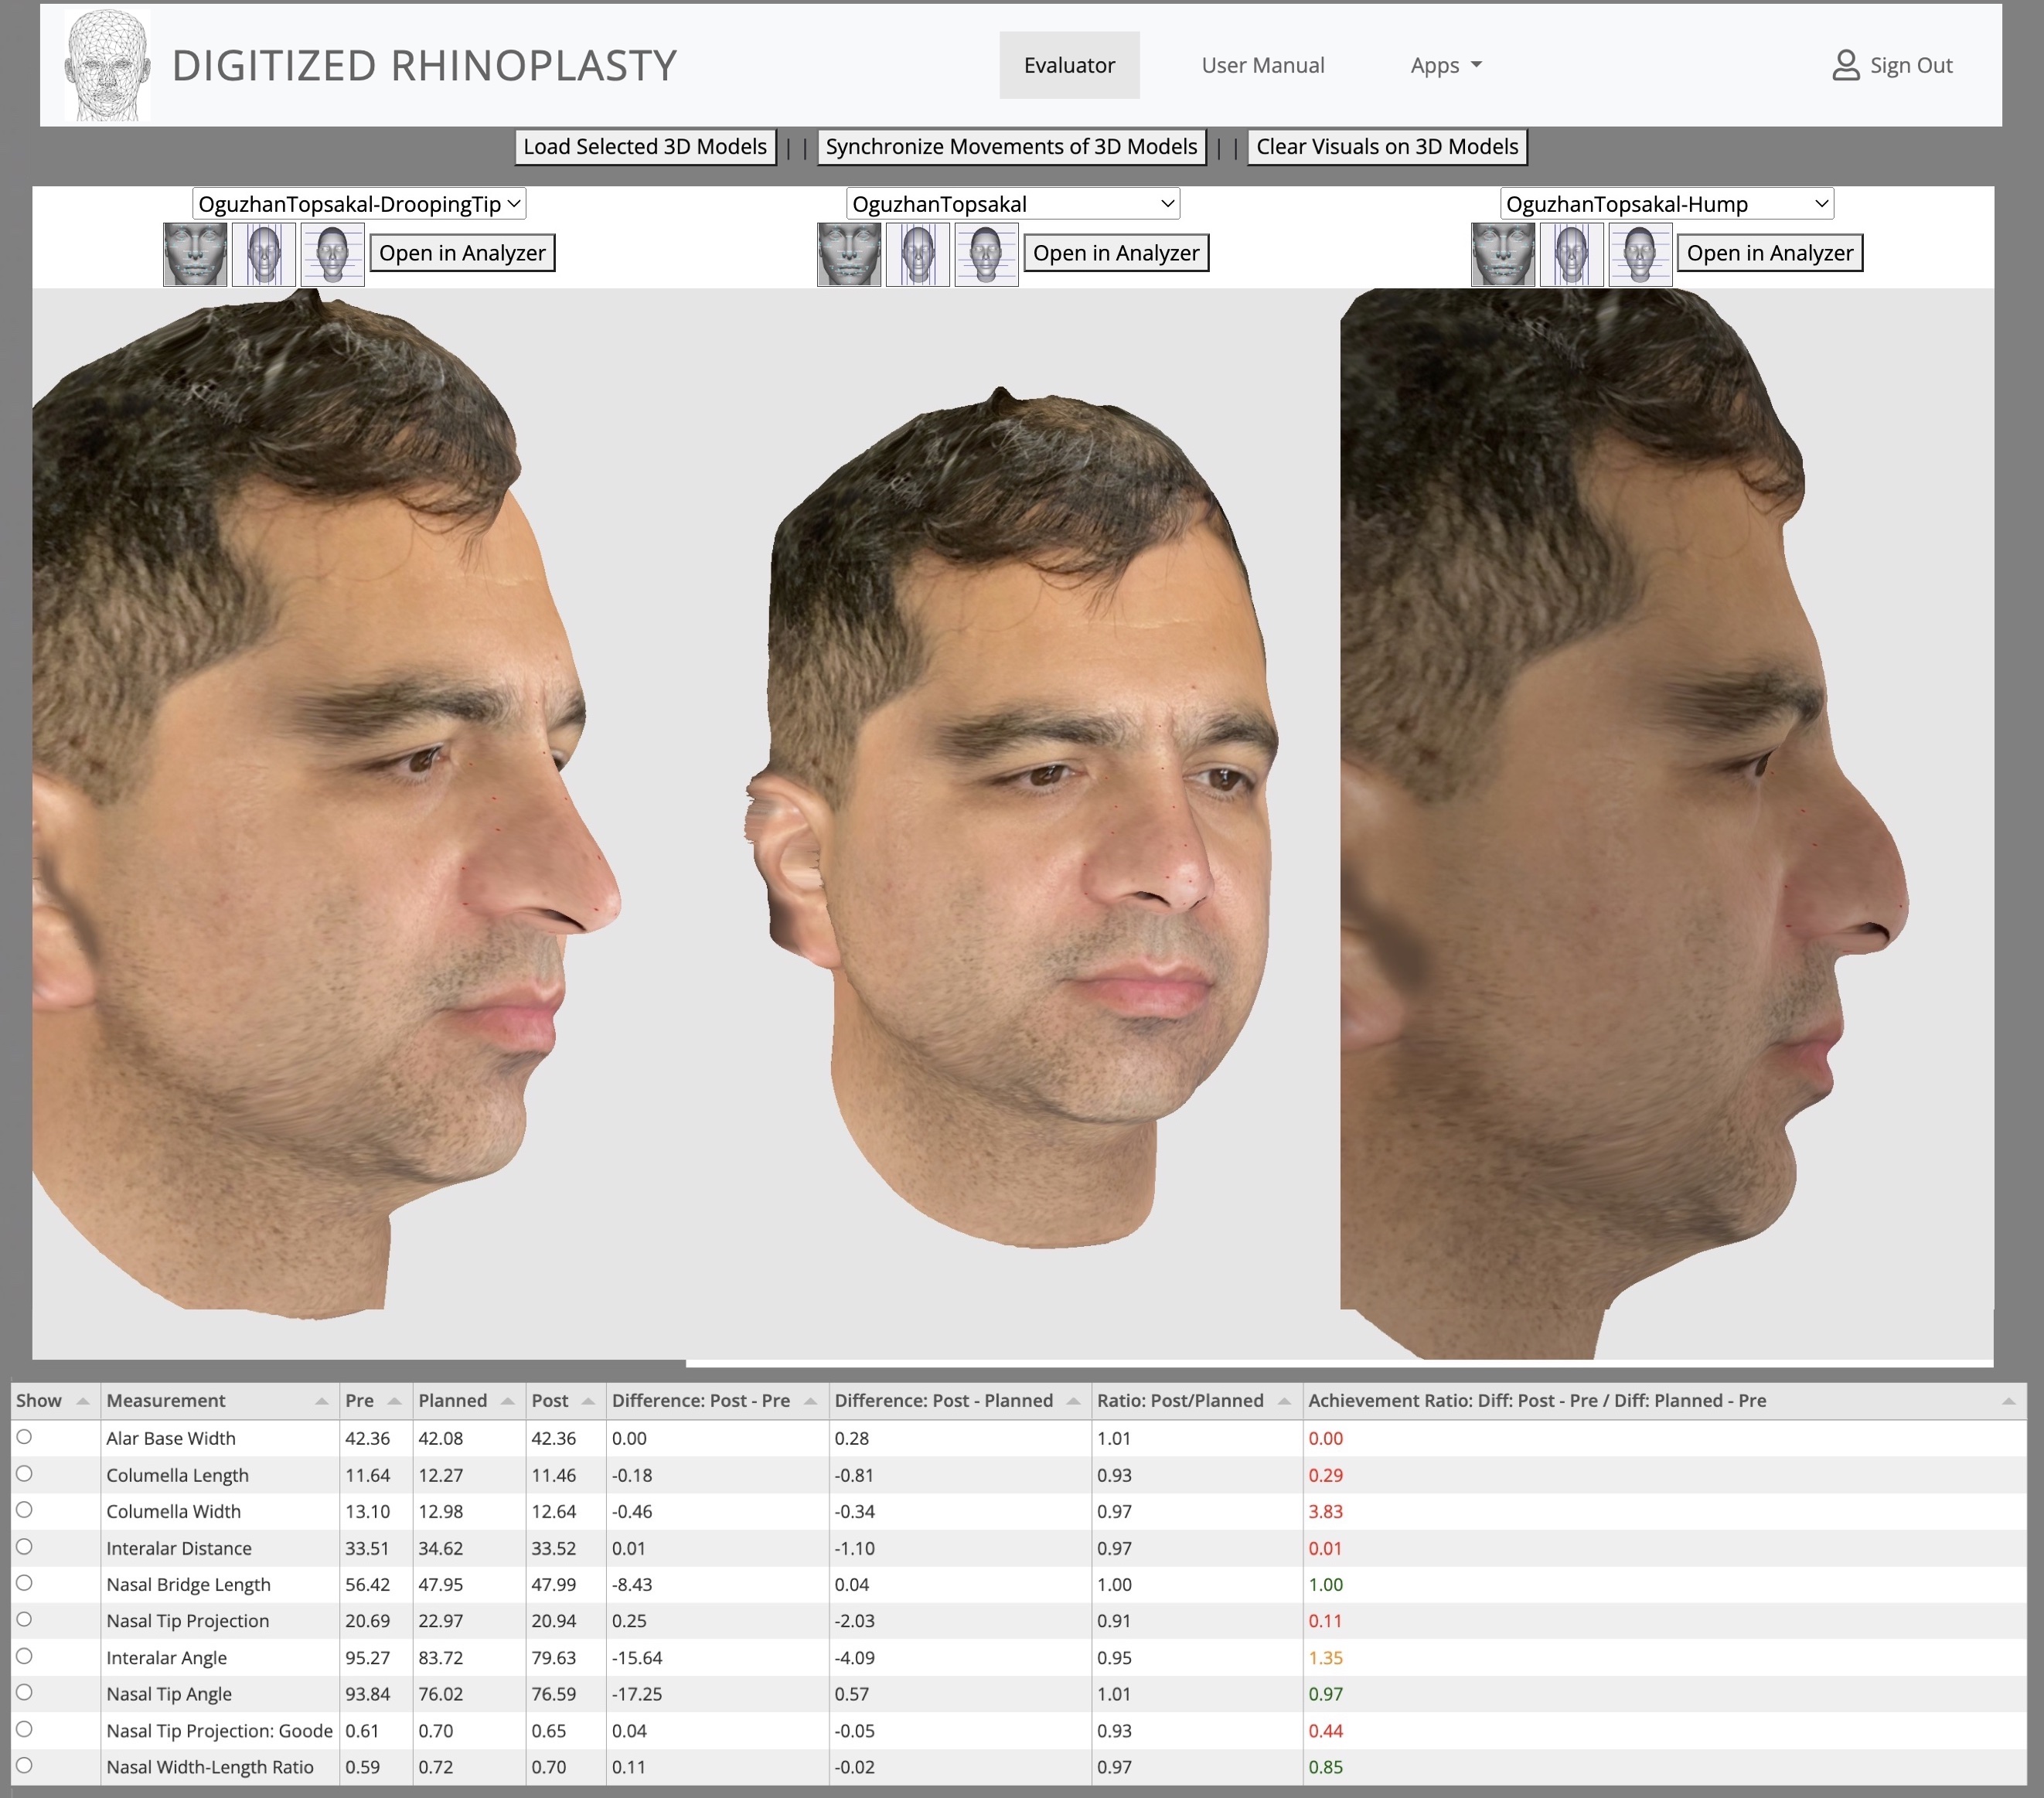
The layout of the 'Evaluator' page is shown in the Figure below:
- The section on the top is to display and interact with the 3D models that represents pre-surgery, planned and post-surgery scans of the patient.
- The section on the bottom lists the measurements and their comparison among pre-surgery, planned, and post-surgery.

Button Legend:
| Used to lock all model cameras to the same position. Camera can still be manipulated. Click again to unlock cameras. | |
| Replaces the synchronize button. Used to unlock model cameras from their fixed position. | |
| Loads all projects that have been selected into the scene. | |
| Removes any lines that have been created from clicking on certain measurement points. | |
| Opens the chosen 3D model in the "Analyzer" application. | |
 |
Display all feature points (landmarks). All unique feature points will be shown with a label floating above them that has the respective number for a point on the list of feature points. |
 |
Visualizes vertical fifths. If the required points have not been recorded or are not a part of the list, a user would be offered to include them or be reminded to record data for them. |
 |
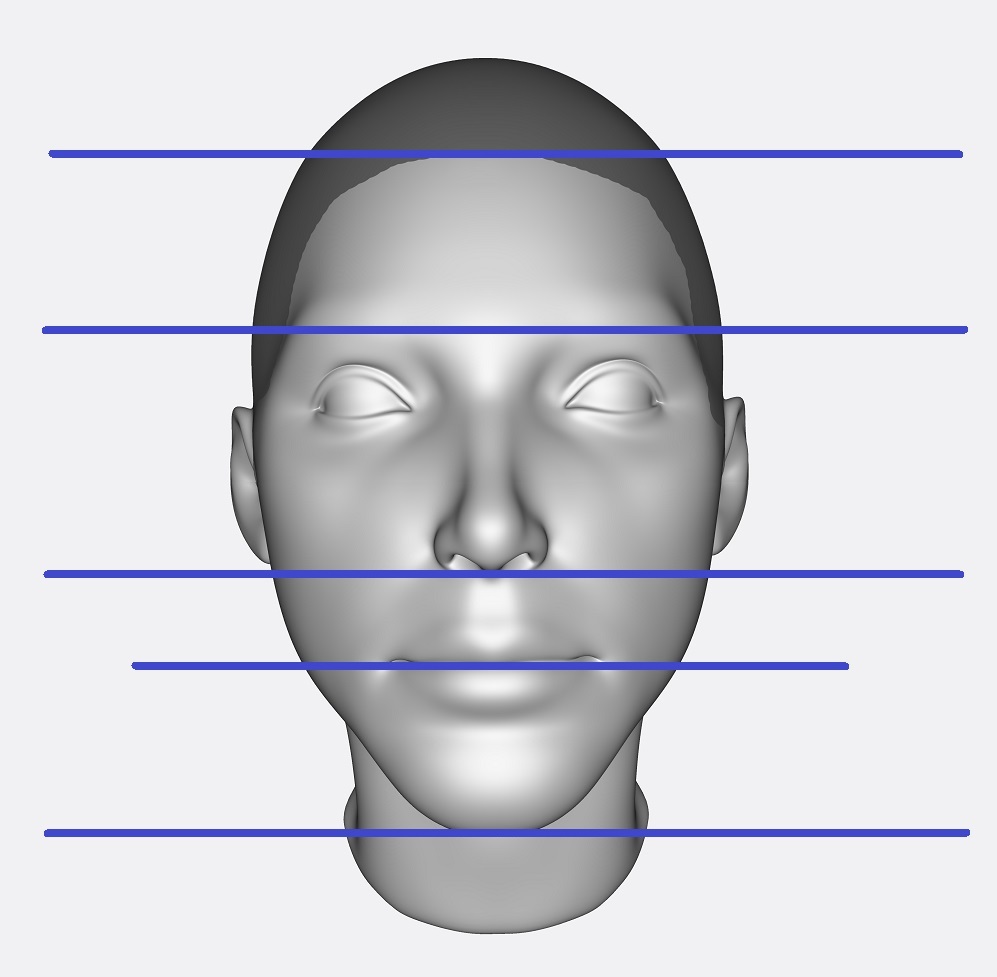
Visualize horizontal thirds. If the required points have not been recorded or are not a part of the list, a user would be offered to include them or be reminded to record data for them. |
How to use the app:
1) Signing into the Website

In order to access to the Evaluator page, you must create an account and sign in.
Please view the videos below for more details about how to sign-up and sign-in:
2) Load pre/planned/post surgery 3-D Models
To select 3D models for evaluation, use the dropdown lists. The first dropdown is for the pre-surgery, the second one is for the planned model and the third one is for post-surgery. First select all 3D models that represent pre-surgery, planned, and post-surgery. Then press the "Load Selected 3D Models" button. If there are no models to choose from in the dropdown list, you must first upload your 3D models using the Analyzer tool. See the manual for the Analyzer for more details.
If you want to look at a 3D model from differnt angles, simply left click and drag to rotate the model.
If you want to adjust the position (placement on the scene) of a 3D model, right click and drag the model.
The video below shows how the 3D models are selected and loaded. It also shows how to use the synchronize button functionality.3) Measurements Table
Since the evaluator tool is designed to compare 3D models of pre/planned/post-surgery, there is a table at the bottom of the page for displaying the measurements. If you have not marked your model with the Analyzer Tool this section will not show any information. To display comparison for a measurement, first go to the analyzer page and mark the landmarks needed to compute the measurement. Then, you will see those measurements listed on this table when you load the model on the evaluator page.

The following video shows how to select a measurement from the table and then the measurement is displayed on the 3D models. You can use the 'Clear Visuals' button to remove the measurements from the 3D models. You can also click on the header of a column to sort.
The last column on the table shows the achivement ration. If the achievement ratio is within the 20% range of a perfect achievement (in other words, if between 0.8 to 1.2), it is green. If it is within 20% to 40% of perfect achievement, it is yellow, and if it is beyond that range, it is red.
4) Visualization Buttons
You can utilize visualization buttons at the top of each 3D model to show all the landmarks, to show vertical fifths or horizontal thirds.
Skip to top